


Home / Blog Center / Chargers / How to Install LED Strip Lights on a Mirror: A Complete Guide
How to Install LED Strip Lights on a Mirror: A Complete Guide
23/05/2025 | OtterOasis
With the notoriety of advanced domestic beautification, Driven light strips have picked up expanding favor due to their vitality proficiency, natural invitingness, and assorted colors. Numerous individuals select to introduce Driven light strips around mirrors, as they not as it were improve the aesthetics of the space but moreover give superior lighting for cosmetics and other every day exercises. So, how can you introduce Driven light strips on a reflect? Here are the nitty gritty steps and strategies.
Strategy for Introducing Driven Light Strips on a Reflect:
1. Get ready Instruments and Materials
Some time recently beginning, make beyond any doubt you have got all the necessary tools and materials. You'll got to buy Driven light strips, ideally those with self-adhesive backing for simpler application. In expansion, scissors, a measuring tape, and a control connector are basic. Guarantee that the mirror's surface is clean and smooth for legitimate grip.
2. Degree the Border of the Reflect
Some time recently introducing the Driven light strips, it's imperative to degree the edge of the reflect precisely. Utilize a measuring tape to degree all four sides of the reflect and record the information. This step is vital since precise measurements will guarantee that you simply buy a appropriate length of Driven light strip, dodging squander or deficiencies.
3. Cut the Driven Light Strip
Based on the measured edge, cut the Driven light strip to the fitting length. Most Driven light strips will have assigned cutting lines, regularly stamped at secure cutting positions. After cutting, check both closes of the strip to guarantee they are in great condition and prepared for interfacing to the control source.
4. Secure the Driven Light Strip
Remove the protective film from the back of the LED light strip, ensuring the reflect surface is clean and dry. Carefully adhere the light strip along the edges of the reflect. When applying, keep the strip straight to dodge folds or peeling. You'll begin from one corner and gradually progress whereas squeezing down on the strip to guarantee it follows well to the reflect surface.
5. Interface the Control Source
Driven light strips regularly utilize a low-voltage control supply, so pay extraordinary consideration to security when interfacing the control. Taking after the informational within the light strip manual, interface one conclusion of the strip to the power connector and after that plug the connector into an outlet. Guarantee all associations are secure to anticipate any free contacts amid utilize.|
6. Test the Light Strip Impact
After completing the establishment, turn on the control to test the Driven light strip impact. Check on the off chance that the brightness and color meet your desires. In the event that the strip works ordinarily, you'll be able make last alterations to guarantee the light strip is symmetrical and flawless.
7. Appreciate Your Unused Stylistic layout
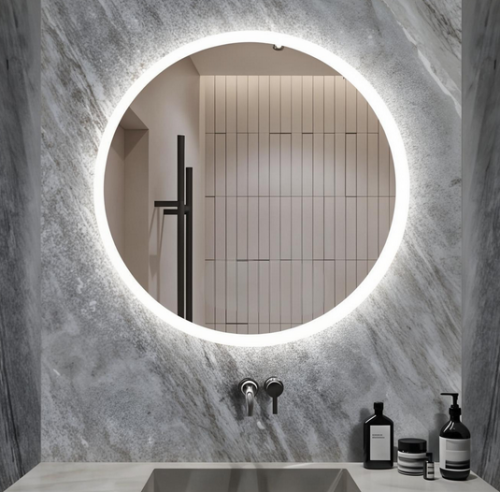
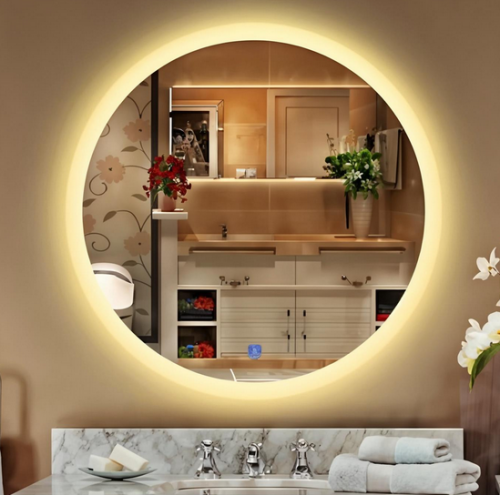
Once everything is total, you'll be able appreciate the impact of your unused beautification! The LED light strip includes a dynamic corona around the reflect, elevating the whole space and presenting a touch of advancement to your standard of living. Whether for cosmetics, styling your hair, or day-to-day use, you presently have a gentler, more indeed light, making each reflect involvement more pleasant.
Outline:By taking after these basic steps, you'll effectively introduce Driven light strips on your reflect, giving your domestic environment a new unused see. Allow it a attempt and make your possess lovely space.
