


Home / Blog Center / Chargers / Easy Steps to Add LED Strip Lighting to Your Shoe Cabinet
Easy Steps to Add LED Strip Lighting to Your Shoe Cabinet
27/05/2025 | OtterOasis
Numerous individuals discover that introducing Driven strip lights in certain places can be a bother and an pointless burden. For illustration, a few individuals favor to introduce lights in a wine cabinet, whereas others select to do so in a shoe cabinet. In my supposition, introducing Driven strip lights in a shoe cabinet is exceptionally advantageous. So, how do you introduce Driven strip lights in a shoe cabinet?
Steps to Introduce Driven Strip Lights in a Shoe Cabinet:
1. Planning
Some time recently beginning the establishment of the Driven strip lights, it is critical to get ready. The devices and materials required primarily incorporate Driven strip lights, a control connector, a hot stick weapon (or double-sided tape), scissors, a ruler, as well as wire cutters and a multimeter. Guarantee that the chosen Driven strip is appropriate for the measure of the shoe cabinet, which the control connector can back the control necessities of the lights. It is additionally prudent to degree the inside measurements of the shoe cabinet in progress to encourage a smoother installation prepare.
2. Select the Correct Area
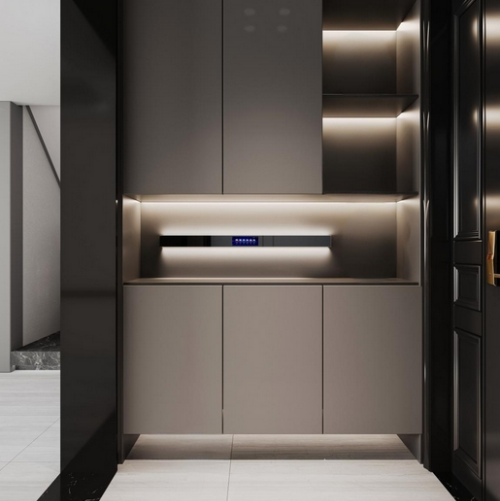
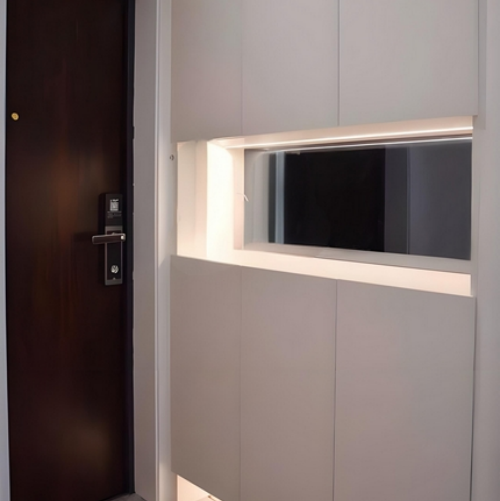
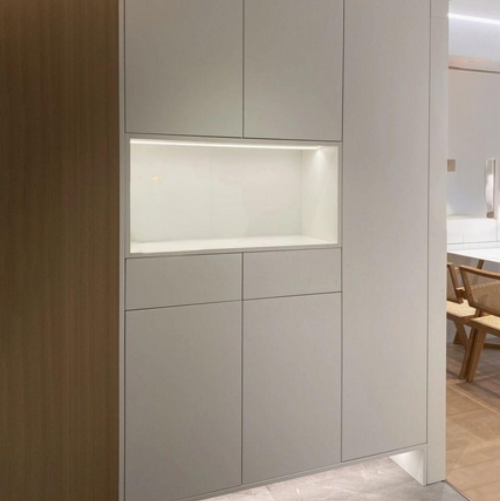
Choosing the establishment area for the Driven strip lights is significant. Ordinarily, the lights can be introduced at the beat, foot, or sides of the cabinet. Introducing at the best can viably utilize cabinet space and enlighten the complete cabinet, making it simpler to discover things. Foot establishment offers a special plan and includes enriching impacts to the shoe cabinet. In any case of the chosen position, guarantee that the lights can equitably light up the cabinet without preventing the typical utilize of cabinet entryways.
3. Trim the Driven Strip Lights
After finalizing the establishment area, the following step is to trim the Driven strip lights agreeing to the real estimate of the shoe cabinet. Driven strips ordinarily have settled cutting focuses, permitting clients to cut them based on their needs. Some time recently cutting, check the association harbour of the strip lights to guarantee that the trimmed end can be effortlessly associated to the control connector. Continuously take after the manufacturer's enlightening to avoid harming the strip lights or rendering them unusable.
4. Clean and Secure
Some time recently introducing the lights, clean the surface where they will be connected to guarantee a solid bond. Utilize a cleaning cloth or liquor swabs to wipe the chosen area, evacuating tidy and oil. Once cleaned, peel off the defensive film from the back of the strip lights and adhere them straightforwardly to the surface. In case employing a hot stick weapon, apply a little sum of hot stick at the corners whereas staying, to upgrade the grip between the lights and the cabinet.
5. Wiring and Association
After securing the Driven strip lights, the next step is to associate them to the control source. Interface one conclusion of the strip lights to the control connector, guaranteeing a tight association, and after that plug the connector into an electrical outlet. To guarantee security, it is fitting to utilize a multimeter to check the association is ordinary, affirming that there are no brief circuits or destitute contact issues. Be beyond any doubt to dodge letting uncovered wires come into contact with metal to avoid electrical stun dangers.
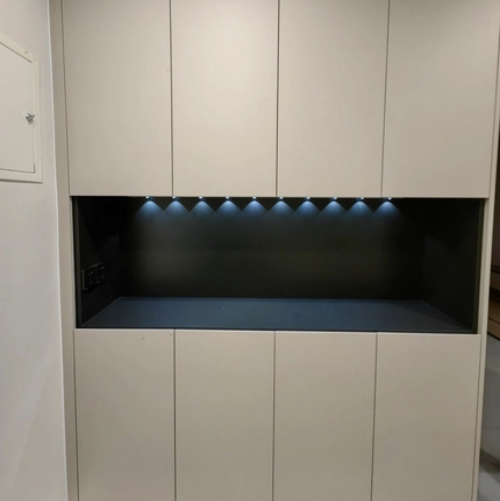
6. Test the Driven Strip Lights
After completing all establishment steps, the ultimate step is to test the brightness and usefulness of the LED strip lights. Plug within the control and watch whether the lights turn on appropriately, checking for any flashing. In case flashing happens, it may show destitute electrical associations or quality issues with the lights, and a recheck is vital. Guarantee the lights are working appropriately some time recently putting shoes and other things back into the cabinet.
7. Upkeep and Safeguards
Whereas upkeep for Driven strip lights is moderately straightforward, normal checks are still vital. To begin with, intermittently clean the strip lights to guarantee their brightness isn't lessened by clean. Moment, dodge setting combustible things close the lights to avoid fire dangers. Furthermore, check the control source and connecting wires routinely to guarantee that they are not worn or harmed, guaranteeing secure utilization.
Outline:That's all for how to introduce Driven strip lights in a shoe cabinet. On the off chance that you encounter comparative questions within the future, fair seek for how to install Driven strip lights in a shoe cabinet, and the data will be at your fingertips. For those who need to memorize more, if you don't mind proceed to take after our site for more exciting substance to come.
