


Home / Blog Center / Chargers / The Best Methods for Installing a Mirror on Tile
The Best Methods for Installing a Mirror on Tile
30/05/2025 | OtterOasis
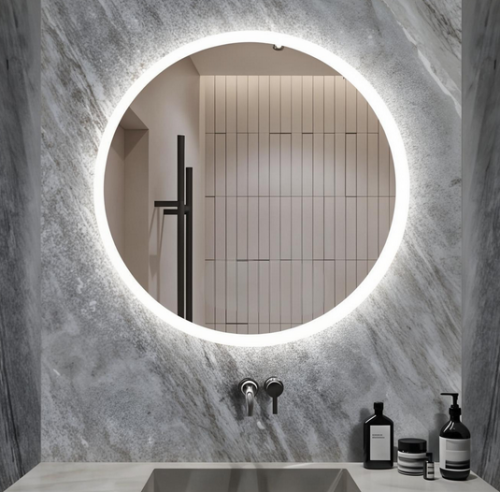
Mirrors are an basic portion of domestic enhancement; they not as it were upgrade the excellence of the space but moreover increment indoor light through reflection. Settling a reflect onto tiles may be a cautious handle that requires consideration to ensure both security and aesthetics. Underneath, we are going layout compelling steps for safely joining a reflect to tiles.
How to Settle a Reflect onto Tiles:
1. Planning
Before starting, make beyond any doubt you've got all the vital devices and materials prepared. You may require a suitable mirror, uncommon tile cement or mirror-specific glue, a scraper, a cleaning cloth, and a pencil. To begin with, clean the tile surface to ensure there's no clean, oil, or dampness, which is able offer assistance with superior attachment.
2. Measuring and Stamping
Employing a pencil, precisely degree and stamp the position where the reflect will be settled. You'll be able utilize a tape degree to decide the tallness and width, guaranteeing the reflect is put symmetrically and stylishly on the divider. This step is vital to maintain a strategic distance from pointless adjust due to disgraceful situating.
3. Applying Stick
Another, open your tile cement or stick. Employing a scrubber, equitably spread the cement on the back of the reflect, guaranteeing it covers each corner. Take after the product's instructions for mixing the stick sum, as as well much or as well small can influence the fixation.
4. Settling the Reflect
Carefully adjust the stuck reflect with the checked position, delicately squeezing to guarantee full contact between the reflect and the tiles. At this point, keep the reflect level, and you can use a level to help in checking and making alterations as required.
5. Securing and Watching
Once the reflect is settled, gently press around the edges to guarantee it tightly adheres to the divider. At that point, permit it to dry normally whereas watching the fixation effect. Amid the drying period, attempt to maintain a strategic distance from touching the reflect to avoid affecting the adhesive's bonding impact. Ordinarily, drying time can extend from a few hours to a day, depending on the sort of stick utilized.
6. Last Check
After it is completely dry, check the steadiness of the obsession. You'll be able tenderly thrust and drag on the reflect to guarantee it is safely followed to the tiles. In the event that there's any detachment, evacuate it instantly, reapply the stick, and settle it once more. Make beyond any doubt the edges of the mirror adjust with the divider for an exquisite visual impact.
7. Cleaning and Upkeep
Once the establishment is total, it is fitting to clean the reflect to expel any remaining stick or stains. Utilize a lint-free cloth at the side a appropriate cleaner for mirrors, tenderly wiping the surface to dodge scratches. Routinely check the solidness of the reflect to guarantee it remains secure.

In rundown:by taking after these steps, you'll effectively settle a reflect onto tiles, including a touch of brilliance and charm to your domestic. Keep in mind, tolerance and consideration to detail are key amid establishment, and we wish you a smooth remodel handle!
