


Home / Blog Center / Chargers / Maximizing Space: Wall Ideas for Embedded Shoe Cabinets
Maximizing Space: Wall Ideas for Embedded Shoe Cabinets
05/06/2025 | OtterOasis
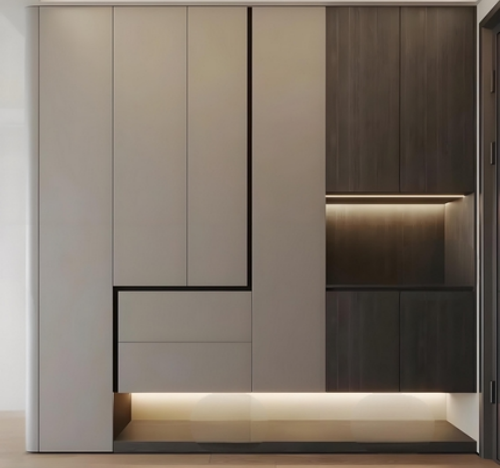
In advanced domestic plan, built-in shoe cabinets are getting to be progressively prevalent, particularly in restricted spaces where the integration of dividers and shoe cabinets is especially vital. A built-in shoe cabinet not as it were successfully spares space but moreover improves the generally stylish of the room. So, how can we handle the divider when planning a built-in shoe cabinet?
How to Handle the Divider for a Built-in Shoe Cabinet:
1. Decide Area and Measure
Some time recently beginning with divider treatment, it is fundamental to clarify the area and estimate of the shoe cabinet. You'll be able select to put the built-in shoe cabinet at the entrance, corridor, or other appropriate regions. When choosing on the position, consider the family's utilization propensities and the spatial format. The measure of the shoe cabinet ought to be measured based on genuine has to ensure it can suit the specified number of shoes without preventing activity.
2. Select Reasonable Materials
Choosing the proper divider materials is vital for divider treatment. Common divider materials incorporate gypsum board, wood, and brick work. Each fabric has its characteristics; for case, gypsum board is lightweight and simple to work with, whereas brick work is more tough and vigorous. Considering the load-bearing needs of the shoe cabinet and the solidness of the divider, it is prudent to prioritize stone work or other load-bearing materials when selecting.
3. Plan Divider Treatment
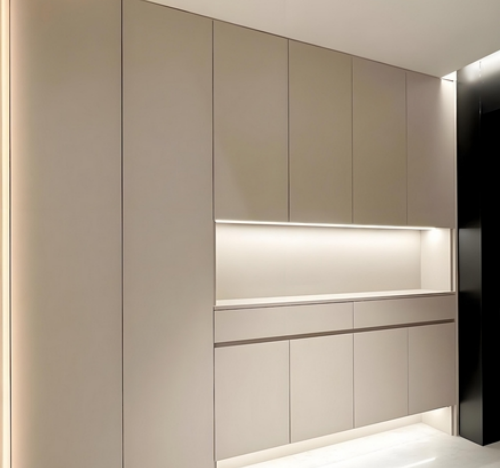
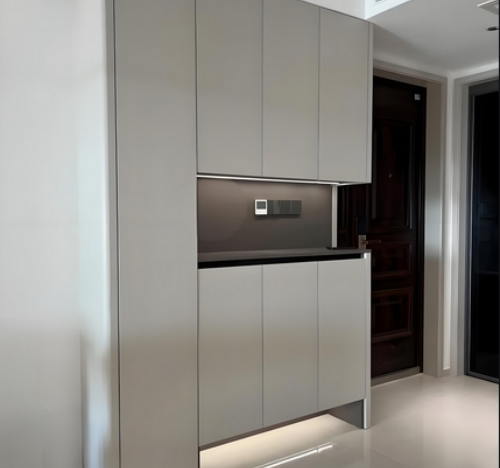
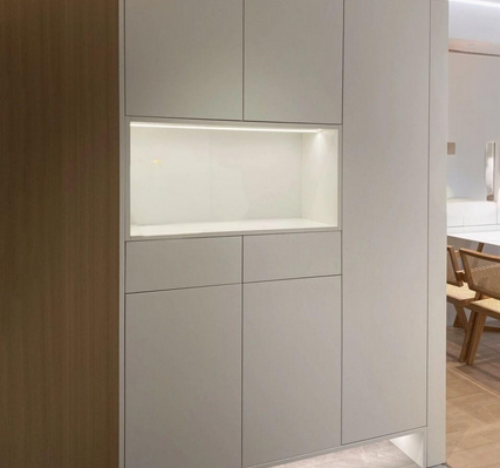
In planning divider medicines, you'll be able join the domestic fashion for a characteristic plan. On the off chance that the room is basically advanced and moderate in fashion, you'll select a uniform wall paint and shoe cabinet color to form a cohesive see. In the event that you lean toward a more interesting plan, consider utilizing distinctive divider beautifications, such as backdrop, wood lacquers, or mosaic tiles, which can give a striking differentiate with the shoe cabinet and include profundity to the space.

4. Increment Utilitarian Plan
The plan of the built-in shoe cabinet isn't fair for putting away shoes; other useful plans can too be considered. For illustration, you'll plan a hanging range over the shoe cabinet for coats, sacks, and other things. Furthermore, including a few capacity drawers can be valuable for putting away cleaning supplies or other little things. This plan not as it were upgrades the utility of the shoe cabinet but moreover optimizes divider space utilization.

5. Lighting and Ventilation
When treating the divider, lighting and ventilation are moreover vital components that ought to not be ignored. Planning fitting lighting for the shoe cabinet region can make it more helpful to get to shoes. Ventilation plan on the divider can anticipate dampness buildup interior the cabinet, securing the shoes. Hence, when planning the divider and shoe cabinet, consider introducing little ventilation openings or utilizing breathable materials to preserve dryness interior the cabinet.
6. Establishment and Wrapping up Work
Once the divider treatment is completed, you'll be able start the establishment of the shoe cabinet. Guarantee that the holes between the shoe cabinet and the divider are well-handled to preserve by and large aesthetics. Especially at the creases, utilize sealant or other materials to shut off, avoiding clean and dampness interruption. Besides, amid the wrapping up work, pay consideration to guarantee all edges are smooth to dodge scratches or superfluous wear.
In summary:The over data approximately how to handle the divider for a built-in shoe cabinet has been presented here. I trust this can be supportive to you. In case you need to memorize more related information, it would be ideal if you proceed to pay consideration to our site, and we'll show more energizing substance within the future.
