


Home / Blog Center / Chargers / How to Create a Stylish Wall Shelf: Step-by-Step Guide
How to Create a Stylish Wall Shelf: Step-by-Step Guide
11/06/2025 | OtterOasis
In domestic enhancement and space organization, wall-mounted racks are a down to earth and tastefully satisfying arrangement. By introducing racks on the divider, you'll viably utilize vertical space, bringing more prominent cleanliness and usefulness to your living environment. Here’s how to form a rack on the wall。
How to Construct Divider Racks for Greatest Capacity Space:
1. Plan Instruments and Materials
Some time recently beginning, assemble the fundamental devices and materials. Fundamental apparatuses incorporate a control bore, screwdriver, level, measuring tape, and pencil. For materials, select appropriate wood sheets or metal racks, together with brackets and establishment screws. It is prudent to choose materials with direct thickness and solid load-bearing capacity, such as pine or birch, to guarantee solidness and security amid utilize.
2. Degree and Stamp
A few time as of late presenting the rack, find a fitting zone. When choosing a position, consider both consolation and aesthetics. Utilize the measuring tape to choose the specified height for the rack and check it on the divider with a pencil. To ensure the rack is level, utilize a level to check the accuracy of the markings. Once the rack stature and level line are asserted, proceed to the another step.
3. Decide Weight Capacity and Establishment Strategy
Calculate the weight that the rack can bear some time recently establishment. In case you arrange to put overwhelming things on the rack, it is prudent to select brackets with back poles or utilize heavy-duty screws for divider obsession. For lighter things, standard brackets will suffice. Consider the divider fabric as well; for concrete dividers, utilize concrete screws, whereas standard wood screws are reasonable for wooden dividers.
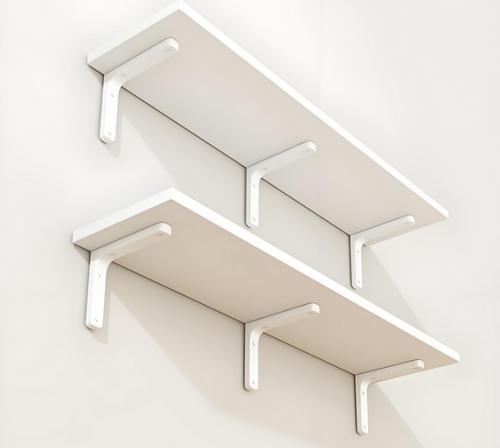
4. Introduce Brackets
Based on the past markings, utilize the control bore to form gaps within the divider, guaranteeing the profundity and breadth coordinate the chosen screws. At that point, safely settle the brackets to the divider, guaranteeing they are steady. Utilize the level to re-check that the brackets are flat. On the off chance that introducing numerous brackets, guarantee that the dispersing between them is uniform for legitimate situation of the rack.
5. Secure the Rack
Once the brackets are introduced, put the wood or metal board onto the brackets, guaranteeing it is steady. Utilize the screwdriver to settle the board to the brackets to anticipate sliding or tilting. It’s a great thought to check numerous times amid the affixing handle to guarantee each corner is secure.
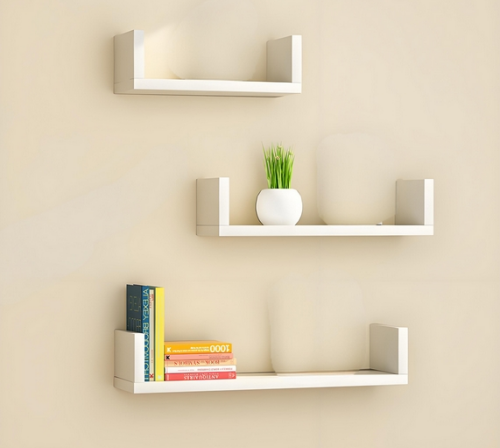
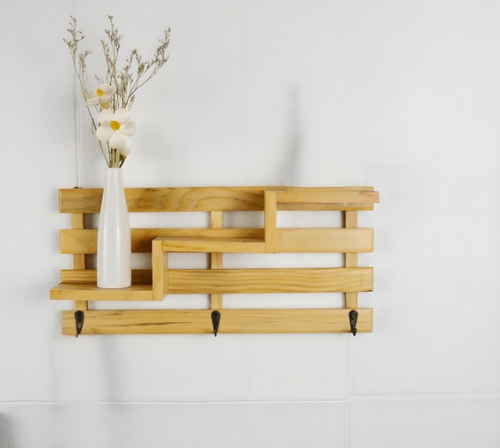
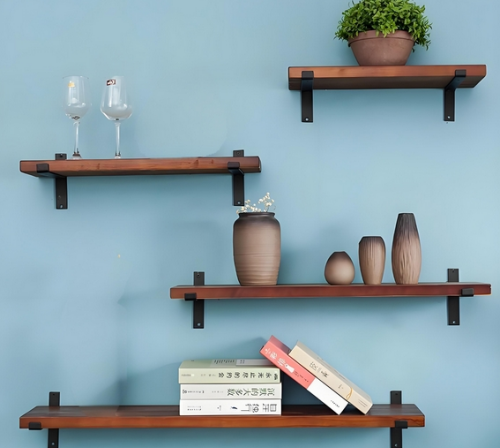
6. Enhance and Organize
After the rack is introduced, you'll beautify it concurring to individual inclinations and the domestic fashion. Orchestrate books, decorations, plants, etc., to embellish the space and increment the shelf’s usefulness. When organizing things, consider their weight and how equitably they are put to preserve the generally adjust of the rack.
7. Customary Assessment and Upkeep
At last, customary reviews of the introduced rack are basic. Over time, it may ended up free or unsteady. Intermittently, check on the off chance that the screws on the brackets are secure to guarantee secure utilize.
In summary:The over gives data on how to make a rack on the divider. I trust it is accommodating for those in require. In the event that you need to memorize more related information within the future, feel free to take after Qijia’s news.
