


Home / Blog Center / Chargers / How to Remove a No-Drill Kitchen Wall Shelf
How to Remove a No-Drill Kitchen Wall Shelf
11/06/2025 | OtterOasis
Evacuating a no-drill kitchen divider rack, which is ordinarily settled to the divider utilizing cement or snares, can be a helpful prepare. This plan permits for simple establishment without boring gaps, but numerous individuals may feel befuddled approximately how to expel it without harming the divider. Here’s how to require down a no-drill kitchen divider shelf。
How to Expel a No-Drill Kitchen Divider Rack:
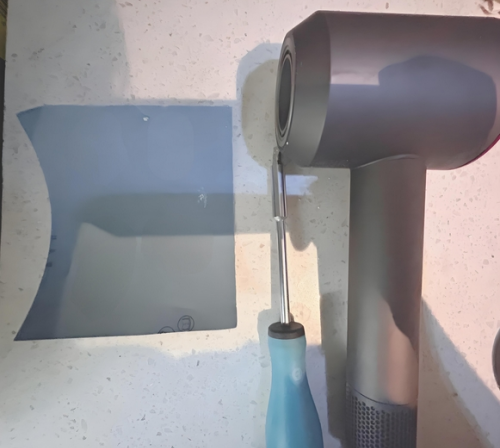
1. Plan Instruments and Materials
Some time recently expelling the no-drill kitchen divider rack, it's critical to accumulate the fundamental instruments and materials. You will require the taking after: a edge, a scrubber, a hairdryer, a cleaner, and a string. The edge can be utilized to carefully cut the cement parts, the scrubber will assist you clean off any buildup, the hairdryer can be utilized to warm the cement, and the cleaner can be utilized to clean any remaining cement marks a while later.
2. Take Security Safety measures
Guarantee that you simply take the vital security safety measures some time recently beginning the evacuation prepare. It is prudent to wear gloves to secure your hands from damage. Family cleaning items may contain bothering substances, so guarantee the region is well-ventilated whereas utilizing any cleaners. Too, make beyond any doubt that there are no delicate things adjacent that can be harmed whereas moving the rack.
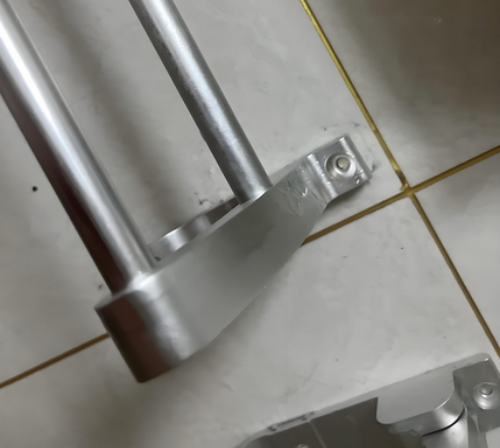
3. Warm the Rack
For racks joined with hot liquefy cement or solid stick, employing a hairdryer is an compelling strategy. Set the hairdryer to a moo warm setting and equitably warm the zone where the rack contacts the divider. This warming strategy will mellow the cement, making it less demanding to segregate. Be beyond any doubt to warm each stuck portion equally and maintain a strategic distance from concentrating tall temperatures in one spot to avoid harming the divider.
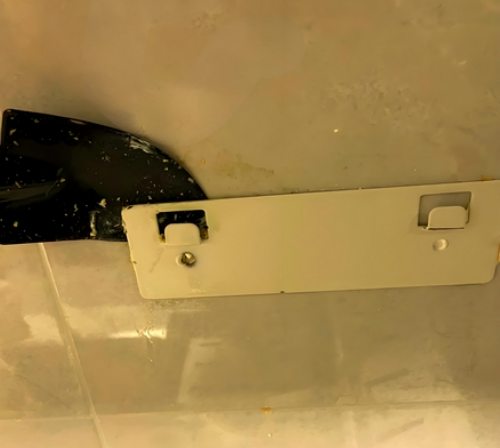
4. Tenderly Pry the Rack Absent
Once the cement has mollified, utilize a scrubber to tenderly pry the edges of the rack. Begin at one conclusion and continuously work your way to the other conclusion, applying indeed weight without driving as well much to maintain a strategic distance from harming the divider or the rack. In the event that you experience resistance, it’s prudent to apply warm once more to that particular region.
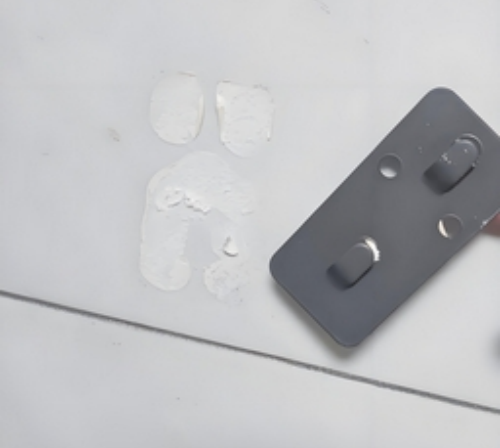
5. Evacuate Leftover Cement
After effectively expelling the rack, there may be cement buildup cleared out on the divider. Utilize the scrubber to tenderly evacuate most of the remaining fabric, at that point shower cleaner on the remaining cement marks and hold up a couple of minutes some time recently wiping with a cleaning cloth. You'll got to rehash this handle a few times until the cement is totally cleaned off. On the off chance that it is especially persistent, you'll consider employing a specialized cement remover.
6. Check the Divider Condition
At last, it’s fundamental to check the condition of the divider after the rack has been expelled. Guarantee there's no harm caused by the cement. In the event that you take note any little repairs are required, you'll utilize putty to fill in minor gaps, taken after by sanding and repainting. This will offer assistance guarantee the divider is reestablished to great condition for future enrichment or reinstallation of a rack.
In summary:this is the method for expelling a no-drill kitchen divider rack. I trust this data is accommodating. In case you need to memorize more related information, if you don't mind proceed to take after our site.
