


Home / Blog Center / Chargers / How to Install a No-Drill Kitchen Wall Shelf: A Step-by-Step Guide
How to Install a No-Drill Kitchen Wall Shelf: A Step-by-Step Guide
11/06/2025 | OtterOasis
In cutting edge family units, the capacity issue in kitchens frequently causes cerebral pains. Particularly in little kitchens where space is constrained, how to successfully utilize divider space gets to be a challenge we must confront. Hole-free wall-mounted racks have ended up a well known choice for numerous families due to their simple establishment and negligible harm to dividers. So, how do you introduce a hole-free kitchen wall-mounted rack?
How to Introduce a Hole-Free Kitchen Wall-Mounted Shelf:
1. Planning
Some time recently introducing a hole-free wall-mounted rack, a few vital arrangements ought to be made. To begin with, select the proper rack; there are various materials and styles available within the showcase, and you'll be able select concurring to your kitchen's generally fashion. Moment, assemble the fundamental instruments, such as cleaners, measuring instruments, and a level. Guarantee the divider surface is clean and free of oil so that the cement can bond safely.
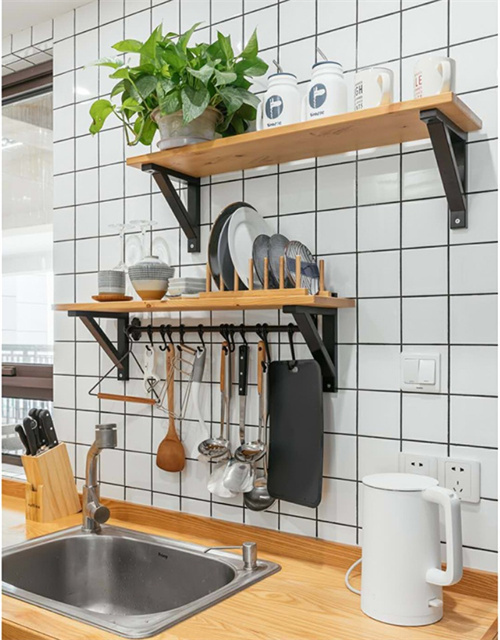
2. Decide Establishment Area
Choosing the correct installation location for the rack may be a vital step within the establishment prepare. You wish to consider both comfort and aesthetics. Ordinarily, the rack ought to be introduced at an effortlessly reachable stature, maintaining a strategic distance from arrangements that are as well tall or as well moo. Furthermore, consider the encompassing space to guarantee that the things put won't discourage kitchen utilization. Utilize a level to check out the foreordained position to guarantee the rack will be level once introduced.
3. Clean the Divider
Some time recently introducing the rack, it is basic to clean the divider. Utilize a cleaner to carefully wipe the chosen region to evacuate clean and oil. Select an suitable sort of cleaner to dodge harming the divider surface. After cleaning, hold up for the divider to dry totally to guarantee the cement works successfully.
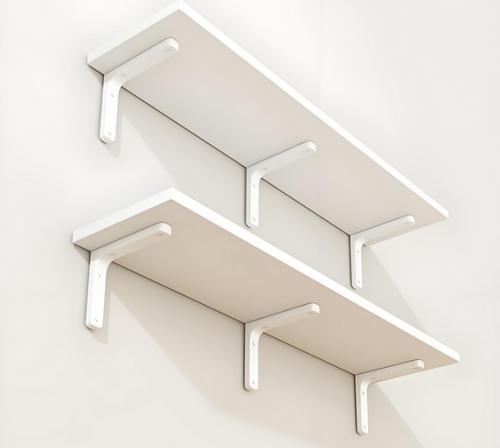
4. Introduce the Brackets
By and large, the back of a hole-free rack will be prepared with solid self-adhesive tape. To begin with, peel off the defensive film from the bracket, taking care not to touch the cement side. At that point, adjust the bracket with the checked establishment position, delicately squeezing it to guarantee full contact with the divider. To improve the cement impact, it is prescribed to press for a number of minutes and keep it still to dodge uprooting.
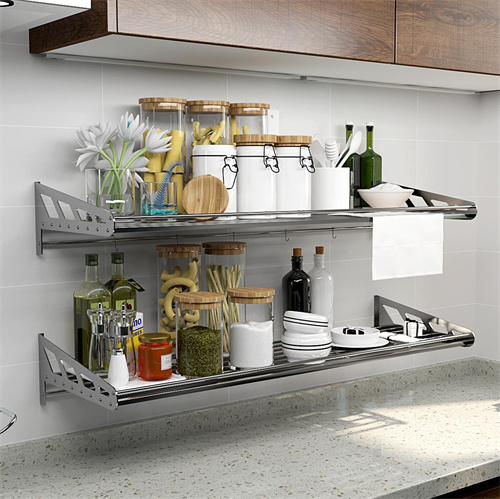
5. Secure the Rack
Once the brackets are solidly settled to the divider, you'll be able put the rack onto the brackets. Depending on the plan, you will got to tenderly set the rack on the brackets or secure it with clips. Guarantee the rack is steady which both sides are adjusted. Utilize the level once more to affirm that the rack is indeed to dodge tilting amid future utilize.
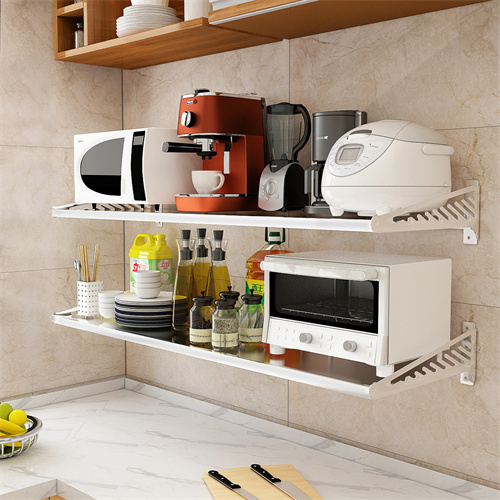
6. Utilize and Support
After establishment, you'll be able organize kitchen things efficiently on the rack. To guarantee the shelf's life expectancy, it is prudent to check the soundness of the brackets frequently and maintain a strategic distance from over-burdening. When cleaning, don't utilize excessively harsh chemical cleaners; want delicate cleaning strategies to preserve its appearance and amplify its life expectancy.
Article Summary:After perusing the over presentation, we accept everybody presently contains a way better understanding of how to introduce a hole-free kitchen wall-mounted rack. For more related data, if you don't mind proceed to take after our site, as we'll show more energizing substance within the future.
