


Home / Blog Center / Chargers / How to Install a No-Drill Wall Shelf: A Step-by-Step Guide
How to Install a No-Drill Wall Shelf: A Step-by-Step Guide
12/06/2025 | OtterOasis
In advanced domestic situations, wall-mounted no-drill racks are getting to be progressively prevalent for their comfort, adaptability, and the truth that they don't harm dividers. So, how do you introduce a wall-mounted no-drill rack?
How to Introduce a Wall-Mounted No-Drill Shelf:
1. Planning
Some time recently introducing the wall-mounted no-drill rack, you to begin with ought to get ready. Accumulate the rack itself, establishment instruments (such as a ruler, pencil, scrubber), a cleaning cloth, and a cleaning operator. Guarantee that the chosen rack can bear the weight of the things you expected to put on it, and check the smoothness and dryness of the divider surface to ensure compelling utilize.
2. Select the Correct Area
Choosing the establishment position for the rack may be a basic step. Consider both comfort and aesthetics; it’s more often than not fitting to choose a spot that's unmistakable and simple to reach. Moreover, make beyond any doubt the area is free of impediments such as electrical wires or channels. After deciding the position, utilize a ruler to degree and guarantee the surmised stature and width for your things, dodging any pointless complications afterward on.
3. Clean the Divider Surface
To improve the grip of the no-drill rack, it’s vital to clean the divider surface some time recently establishment. Utilize a cleaning cloth and an fitting cleaning specialist to completely wipe the chosen range, guaranteeing it is free of clean, oil, and other flotsam and jetsam. After cleaning, permit the divider to discuss dry normally. This step is vital for guaranteeing that the rack follows safely, and ought to not be ignored.
4. Stamp the Establishment Focuses
Another, you wish to stamp the establishment focuses on the divider. Regularly, the back of the no-drill rack will have assigned establishment focuses, which can be checked agreeing to the informational within the manual. Softly draw the comparing positions on the divider with a pencil, guaranteeing they are level. On the off chance that you're uncertain approximately levelness, a level device can be utilized for help to maintain a strategic distance from an slanted rack after establishment.
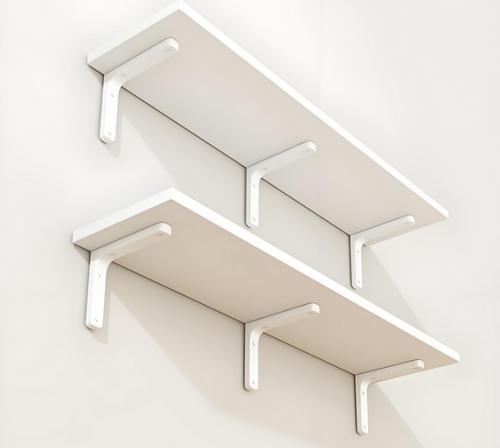
5. Join the Base
Plan the materials for joining the base concurring to the shelf’s manual. Ordinarily, no-drill racks come with solid double-sided tape or a specialized cement. Carefully adjust the base with the checked position on the divider and press down to secure it, guaranteeing it follows totally. It’s for the most part prescribed to press immovably for 15 to 30 seconds to guarantee the cement makes full contact with the divider.
6. Introduce the Rack
Once the base is safely connected, you'll be able continue to introduce the rack. Tenderly adjust the rack with the joined base, guaranteeing the position is adjust. At that point, press down solidly to guarantee it is safely settled to the base. Check that the rack is steady and not free.

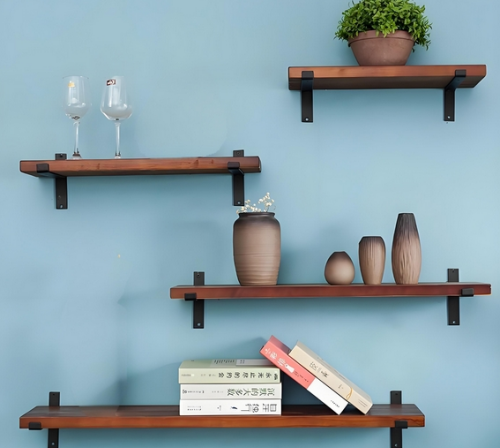
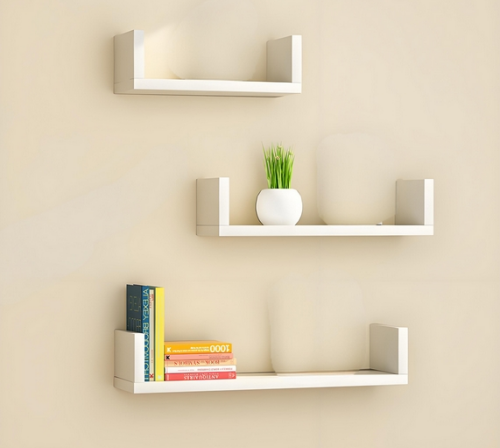
7. Put Things
After establishment is total, you'll be able start putting things on the rack. It’s fitting to begin with lighter objects, testing the shelf's weight-bearing capacity some time recently steadily including heavier things. Watch out to dodge over-burdening the rack, as this may influence its life expectancy and security.
8. Post-Installation Support
Amid utilize, frequently check the connection status of the rack to guarantee it remains secure. In the event that you take note any signs of detachment or separation, take prompt activity to strengthen or reinstall it. Moreover, be beyond any doubt to keep the rack clean to expand its life expectancy.
In summary:the over gives a point by point direct on how to introduce a wall-mounted no-drill rack. We trust this data is accommodating. For more related information, it would be ideal if you proceed to take after our site, where we are going display more energizing substance within the future.
