


Home / Blog Center / Chargers / Design and Build a Flip Shoe Cabinet: Key Dimensions Explained
Design and Build a Flip Shoe Cabinet: Key Dimensions Explained
02/07/2025 | OtterOasis
The flip-top shoe cabinet could be a piece of furniture that combines aesthetics and common sense. Its flip-top plan permits for more productive space utilization and helpful get to. Let's investigate the measurements and development of a flip-top shoe cabinet!
Measurements of the Flip-Top Shoe Cabinet:
The measurements of a flip-top shoe cabinet shift depending on family space, the number of shoes, and individual needs. In any case, common reference measurements incorporate:
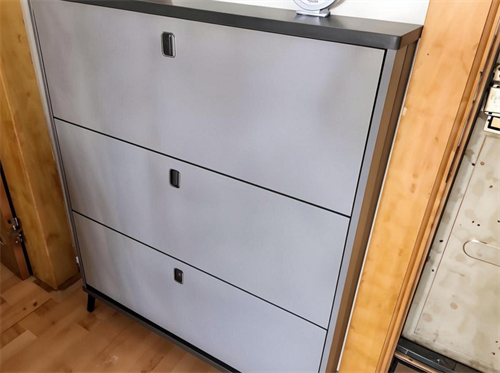
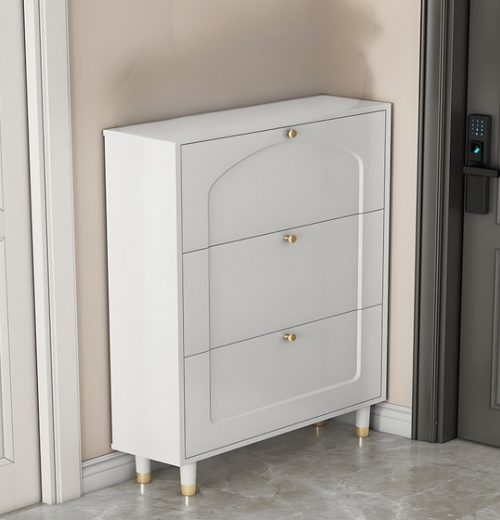
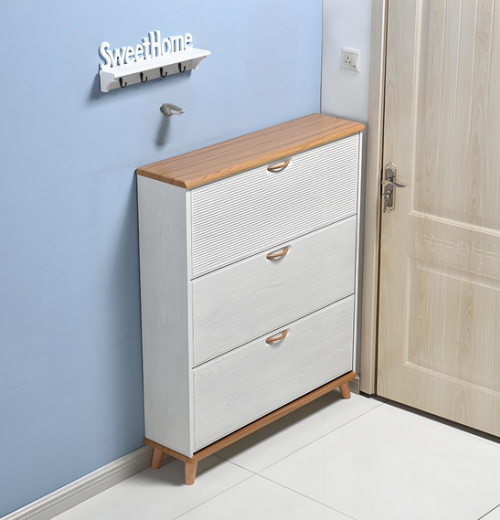
1. Tallness: By and large between 90cm and 120cm, appropriate for grown-up utilize. Alter the tallness concurring to the arrangement area.
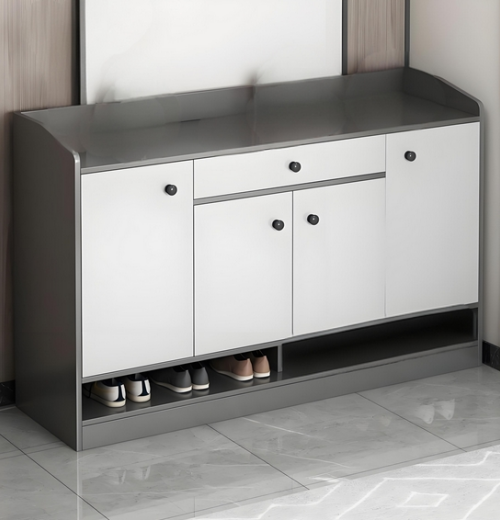
2. Width: Common widths run from 60cm to 120cm, which can be chosen by the number of shoes inside the family. For outline, four sets of shoes include around 60cm, though six sets suggest utilizing a arrange that's 80cm or more broad.

3. Profundity: The profundity of the shoe cabinet regularly ranges from 30cm to 40cm, pleasing most shoes, counting sports shoes, calfskin shoes, and boots.
4. Tallness and Number of Flip-Tops: The stature of flip-tops depends on the sort of shoes being put away, which can be partitioned into tall, medium, and moo layers. Each layer is by and large suggested to have a tallness of 15cm to 20cm for helpful arrangement of shoes of different sizes.
Fabric Selection:
When making a flip-top shoe cabinet, the choice of materials is significant. Commonly utilized materials incorporate:
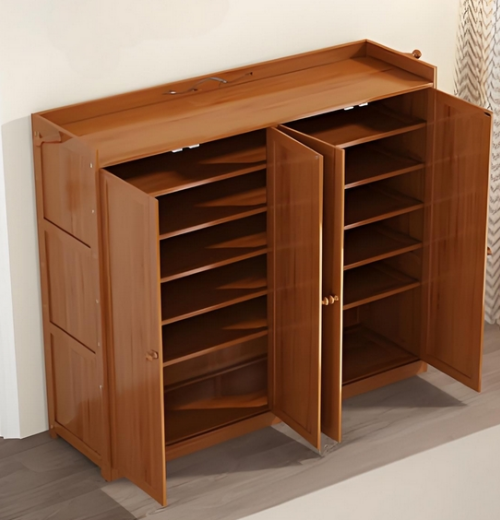
1. Wood: Such as strong wood, MDF, or molecule board. Strong wood cabinets are more durable and solid, with a lovely appearance. MDF and molecule board are more conservative and can be secured with different enriching layers for a wealthier fashion.
2. Metal: Such as aluminum or stainless steel, more often than not utilized for the pivots of the flip-tops, giving way better strength and soundness.
3. Entryway Boards: The entryway boards of the flip-tops can be made of glass, wood, or other composite materials. Glass entryways can way better grandstand shoes, whereas wooden boards give a classic and warm feel.
Steps to Develop a Flip-Top Shoe Cabinet:
1. Plan the Outline: Draw the plan diagram based on the desired measurements and fashion. Legitimately arrange the number of flip-tops, their measurements, and the by and large shape.
2. Get ready Materials: Assemble the fundamental materials based on the outline, counting wooden sheets, pivots, handles, and screws.
3. Cut Materials: Utilize a saw to cut the wooden sheets to the desired measurements, guaranteeing exact estimations and cautious cutting for smooth edges.
4. Gather the Outline: To begin with, collect the outline of the shoe cabinet, utilizing wood stick and screws to secure it. Once the outline is steady, secure the beat and foot.
5. Introduce the Flip-Tops: Introduce the pivots for the flip-tops inside the shoe cabinet outline, guaranteeing they work easily. Alter the stature and position of the flip-tops for simple shoe situation.
6. Introduce the Entryway Boards: Connect the entryway boards to the flip-tops and introduce handles as required. Guarantee the entryway boards can be effortlessly flipped open.
7. Wrap up the Surface: At long last, sand and paint the surface of the shoe cabinet to upgrade strength and aesthetics.
In summary:The over is an presentation to the measurements and development of a flip-top shoe cabinet. We trust this data makes a difference those in require. In the event that you'd like to memorize more related information within the future, feel free to take after our site.
