


Home / Blog Center / Chargers / How to Install Cabinet Hinges?
How to Install Cabinet Hinges?
21/08/2025 | OtterOasis
Pivots are basic equipment components for cabinets. Amid cabinet establishment, pivots must be introduced to begin with. Inappropriate establishment can lead to entryway drooping, trouble in opening and closing, clamor, or indeed harm to the entryway. So, how ought to pivots be installed?
How to Introduce Hinges:
1. Get ready Apparatuses and Materials
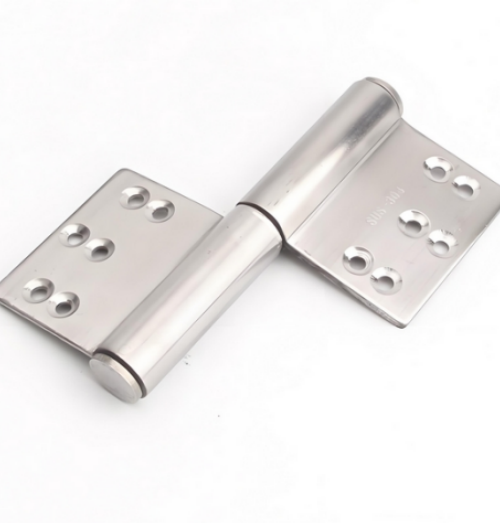
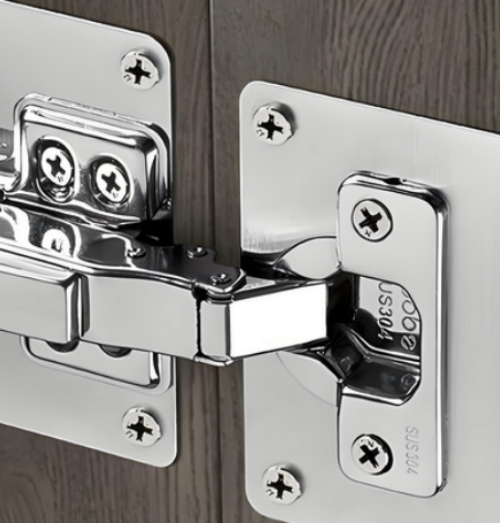
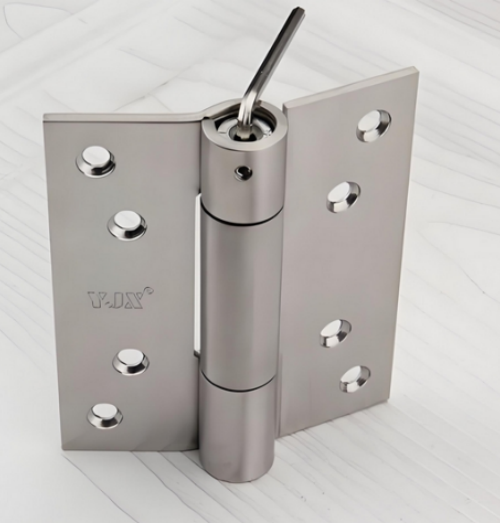
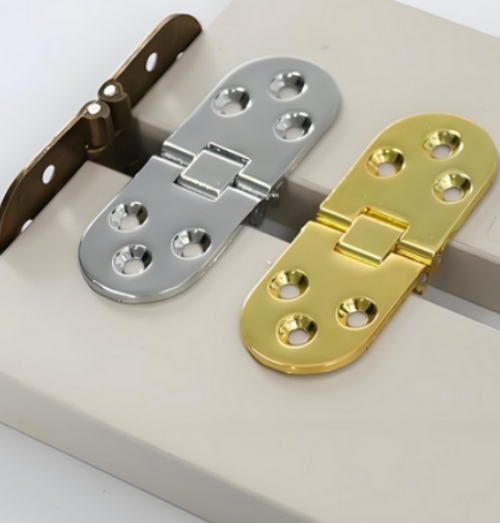
Before beginning the establishment, assemble all vital apparatuses and materials. Common instruments incorporate a control penetrate, screwdrivers (Phillips or flathead), measuring tape, pencil, chisel, level, and a pivot jig (discretionary). For materials, select pivots of fitting measure based on the door’s weight and utilization recurrence. Regularly, 3–4 pivots are utilized for standard entryways, whereas heavier entryways require strengthened or soft-close pivots. Moreover get ready coordinating screws, guaranteeing they are of reasonable length—long sufficient to secure solidly but not so long as to enter through the door.
2. Decide Pivot Positions
Distribute pivot positions consistently based on the entryway tallness. By and large, the to begin with pivot ought to be set 15–20 cm from the best of the entryway, and the moment pivot 15–20 cm from the foot. If utilizing three pivots, put the third one in the center. Utilize a measuring tape to absolutely stamp the pivot areas on both the entryway and the cabinet outline with a pencil. Continuously utilize a level to guarantee the pivot marks are adjusted, anticipating the entryway from tilting or warping.
3. Cut Pivot Mortises
To make the pivots sit flush with the entryway or cabinet surface, mortises (breaks) must be cut at the checked positions. Put the pivot on the checked range and follow its diagram with a pencil. Carefully chisel along the lines to make a break that matches the hinge’s thickness. The profundity ought to be marginally less than the pivot thickness so that the pivot sits flush or marginally underneath the surface when introduced. Work in light, rehashed cuts to dodge chipping the wood. After cutting, test-fit the pivot to guarantee a cozy fit.
4. Secure the Hinges
Once the mortises are legitimately cut and positions affirmed, put the pivots into the breaks. Utilize a screwdriver or penetrate to drive the screws into pre-drilled pilot gaps (bore little pilot gaps to begin with to avoid wood from part). Begin by securing the pivots to the entryway, at that point adjust the entryway with the cabinet outline and connect the pivots to the outline side. Fix the screws immovably, but dodge over-tightening to anticipate stripping or harming the hinge.
5. Alter and Inspect
After all pivots are introduced, open and near the entryway a few times to check for smooth operation, resistance, or unordinary commotion. Check if the entryway remains vertical and if the crevices between the entryway and outline are indeed. If misalignment happens, fine-tune by altering pivot screws or including shims. Guarantee the entryway closes firmly and the pivots bear weight equitably. Once fulfilled, clean up the work area—the pivot establishment is presently complete.

In summary:The over substance offers nitty gritty steps on how to introduce pivots, and we trust it makes a difference you. For more related data, if it's not too much trouble proceed to take after our site, where we will give indeed more comprehensive and valuable substance in the future.
