


Home / Blog Center / Chargers / How to Fix Scratches and Tears on a Leather Sofa
How to Fix Scratches and Tears on a Leather Sofa
27/08/2025 | OtterOasis
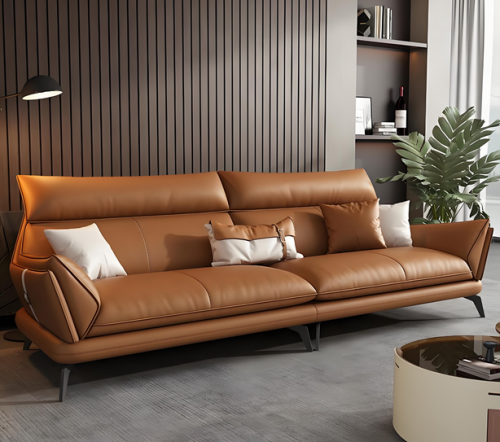
Calfskin couches, esteemed for their premium surface and comfortable seating, are a central piece of furniture in numerous living rooms. Be that as it may, with amplified utilize, calfskin couches definitely create issues such as scratches, splits, peeling, or indeed gaps. When confronted with such harm, numerous family units promptly consider buying a unused couch. This approach, in any case, is not as it were exorbitant but may moreover lead to superfluous squander of assets. In reality, most calfskin couch harms can be viably repaired utilizing appropriate methods. Acing the adjust repair steps not as it were reestablishes the sofa's appearance but moreover essentially expands its life expectancy. This article gives a nitty gritty direct to the total calfskin couch repair handle, making a difference you unquestionably handle common calfskin damages.

How to Repair a Calfskin Sofa:
1. Get ready Repair Instruments and Materials
Preparation is pivotal some time recently beginning the repair. You will require the taking after fundamental devices and materials: calfskin cleaner, clean delicate cloths, fine-grit sandpaper, calfskin repair glue or filler, color-matched calfskin color, a wipe or little brush, a warm weapon (or hair dryer), and a calfskin defender. Depending on the sort of harm, you may too require self-adhesive calfskin patches or specialized calfskin cement. Guarantee all materials are consistent with your sofa's calfskin sort, and dodge items containing cruel solvents or destructive fixings to avoid assist harm. Clean your work range altogether and guarantee great ventilation to make an ideal environment for the repair process.
2. Clean and Sand the Harmed Area
The to begin with step in repair is to altogether clean the harmed region. Utilize a committed calfskin cleaner and a delicate cloth to tenderly wipe the range, evacuating tidy, oil, and any ancient conditioning buildups. Once the surface is totally dry, delicately sand the edges of the harm and the encompassing range with fine-grit sandpaper. Sanding expels free calfskin parts, makes a smooth surface, and makes strides the grip of repair materials. Be delicate to maintain a strategic distance from extending the harmed region. For profound splits or gaps, carefully utilize a little cut to evacuate flotsam and jetsam from interior the harm, guaranteeing the repair range is clean and prepared for the following step.

3. Fill and Repair the Harmed Area
This step shifts depending on the sort of harm. For little scratches or minor spaces, apply calfskin repair glue straightforwardly utilizing a spatula, spreading it equally over the harmed region somewhat over the encompassing surface to account for shrinkage amid drying. For bigger gaps or profound harm, utilize a calfskin filler and apply it in layers, permitting each layer to dry some time recently applying the another, until the region is completely filled. If the harm includes peeling or delamination, utilize a specialized calfskin cement to reattach the lifted parcel, at that point press it immovably and secure it with a weight. After the filler or cement has totally dried, delicately sand the zone once more with fine-grit sandpaper to accomplish a smooth move with the encompassing calfskin, planning it for coloring.
4. Color and Surface Finishing
Once the repaired zone is dry and sanded smooth, continue to the coloring organize. Select a calfskin color that matches the unique color of your couch and apply it equally to the repaired range utilizing a wipe or little brush. It is suggested to apply lean layers, permitting each layer to dry some time recently applying the following, to guarantee wealthy and natural-looking color. After coloring, utilize a warm weapon on a moo setting to delicately warm the region, making a difference the color enter and remedy more successfully. At long last, apply a layer of calfskin defender or conditioner to improve the repaired area's resistance to wear and water, whereas moreover reestablishing the leather's gloss and softness.
Summary:Repairing a calfskin couch is not troublesome; the key lies in clear steps and cautious execution. From planning apparatuses and cleaning the surface to filling, coloring, and last conditioning, each step impacts the generally result. By choosing appropriate materials and taking after the adjust methods, most common harms can be viably repaired. After repair, keep up the couch with customary care: dodge coordinate daylight and sharp objects, clean it occasionally, and apply conditioner to essentially expand its life expectancy. Through logical repair, you not as it were spare on substitution costs but too bring your adored calfskin couch back to life.
